Homemade Ghee / Indian Style Clarified Butter
I’ve been away from the blog – for a while now. And I’d really like to think at least some of you missed seeing my posts 🙂
As always, there’s a lot of very convincing reasons for my hiatus.. a cross-country move, virus-colds-sick visits for the little guy and the grown ups, 2 record setting snow storms right in the middle of it all… but finally here I am, typing this blog from more than 15k miles from our new home, taking the much needed vacation with family!
Now when there were so many changes and so much going on all around us, most of our normal routine life came to a screeching halt and we were in ‘minimal mode’ for a few weeks. So would you believe me if I said making home made ghee was part of minimal mode operation? Well, it was and if you knew that it would take only 15 minutes to make aromatic ghee right at home and that it would cost only half as much as the store-bought version, it would be a no-brainer! Go ahead and give it a try just once and I don’t think you’re ever going back to the store for another bottle when you can trade it for both awesome ghee and the priceless feel-good-factor!
Home-made Ghee / Indian Style Clarified Butter
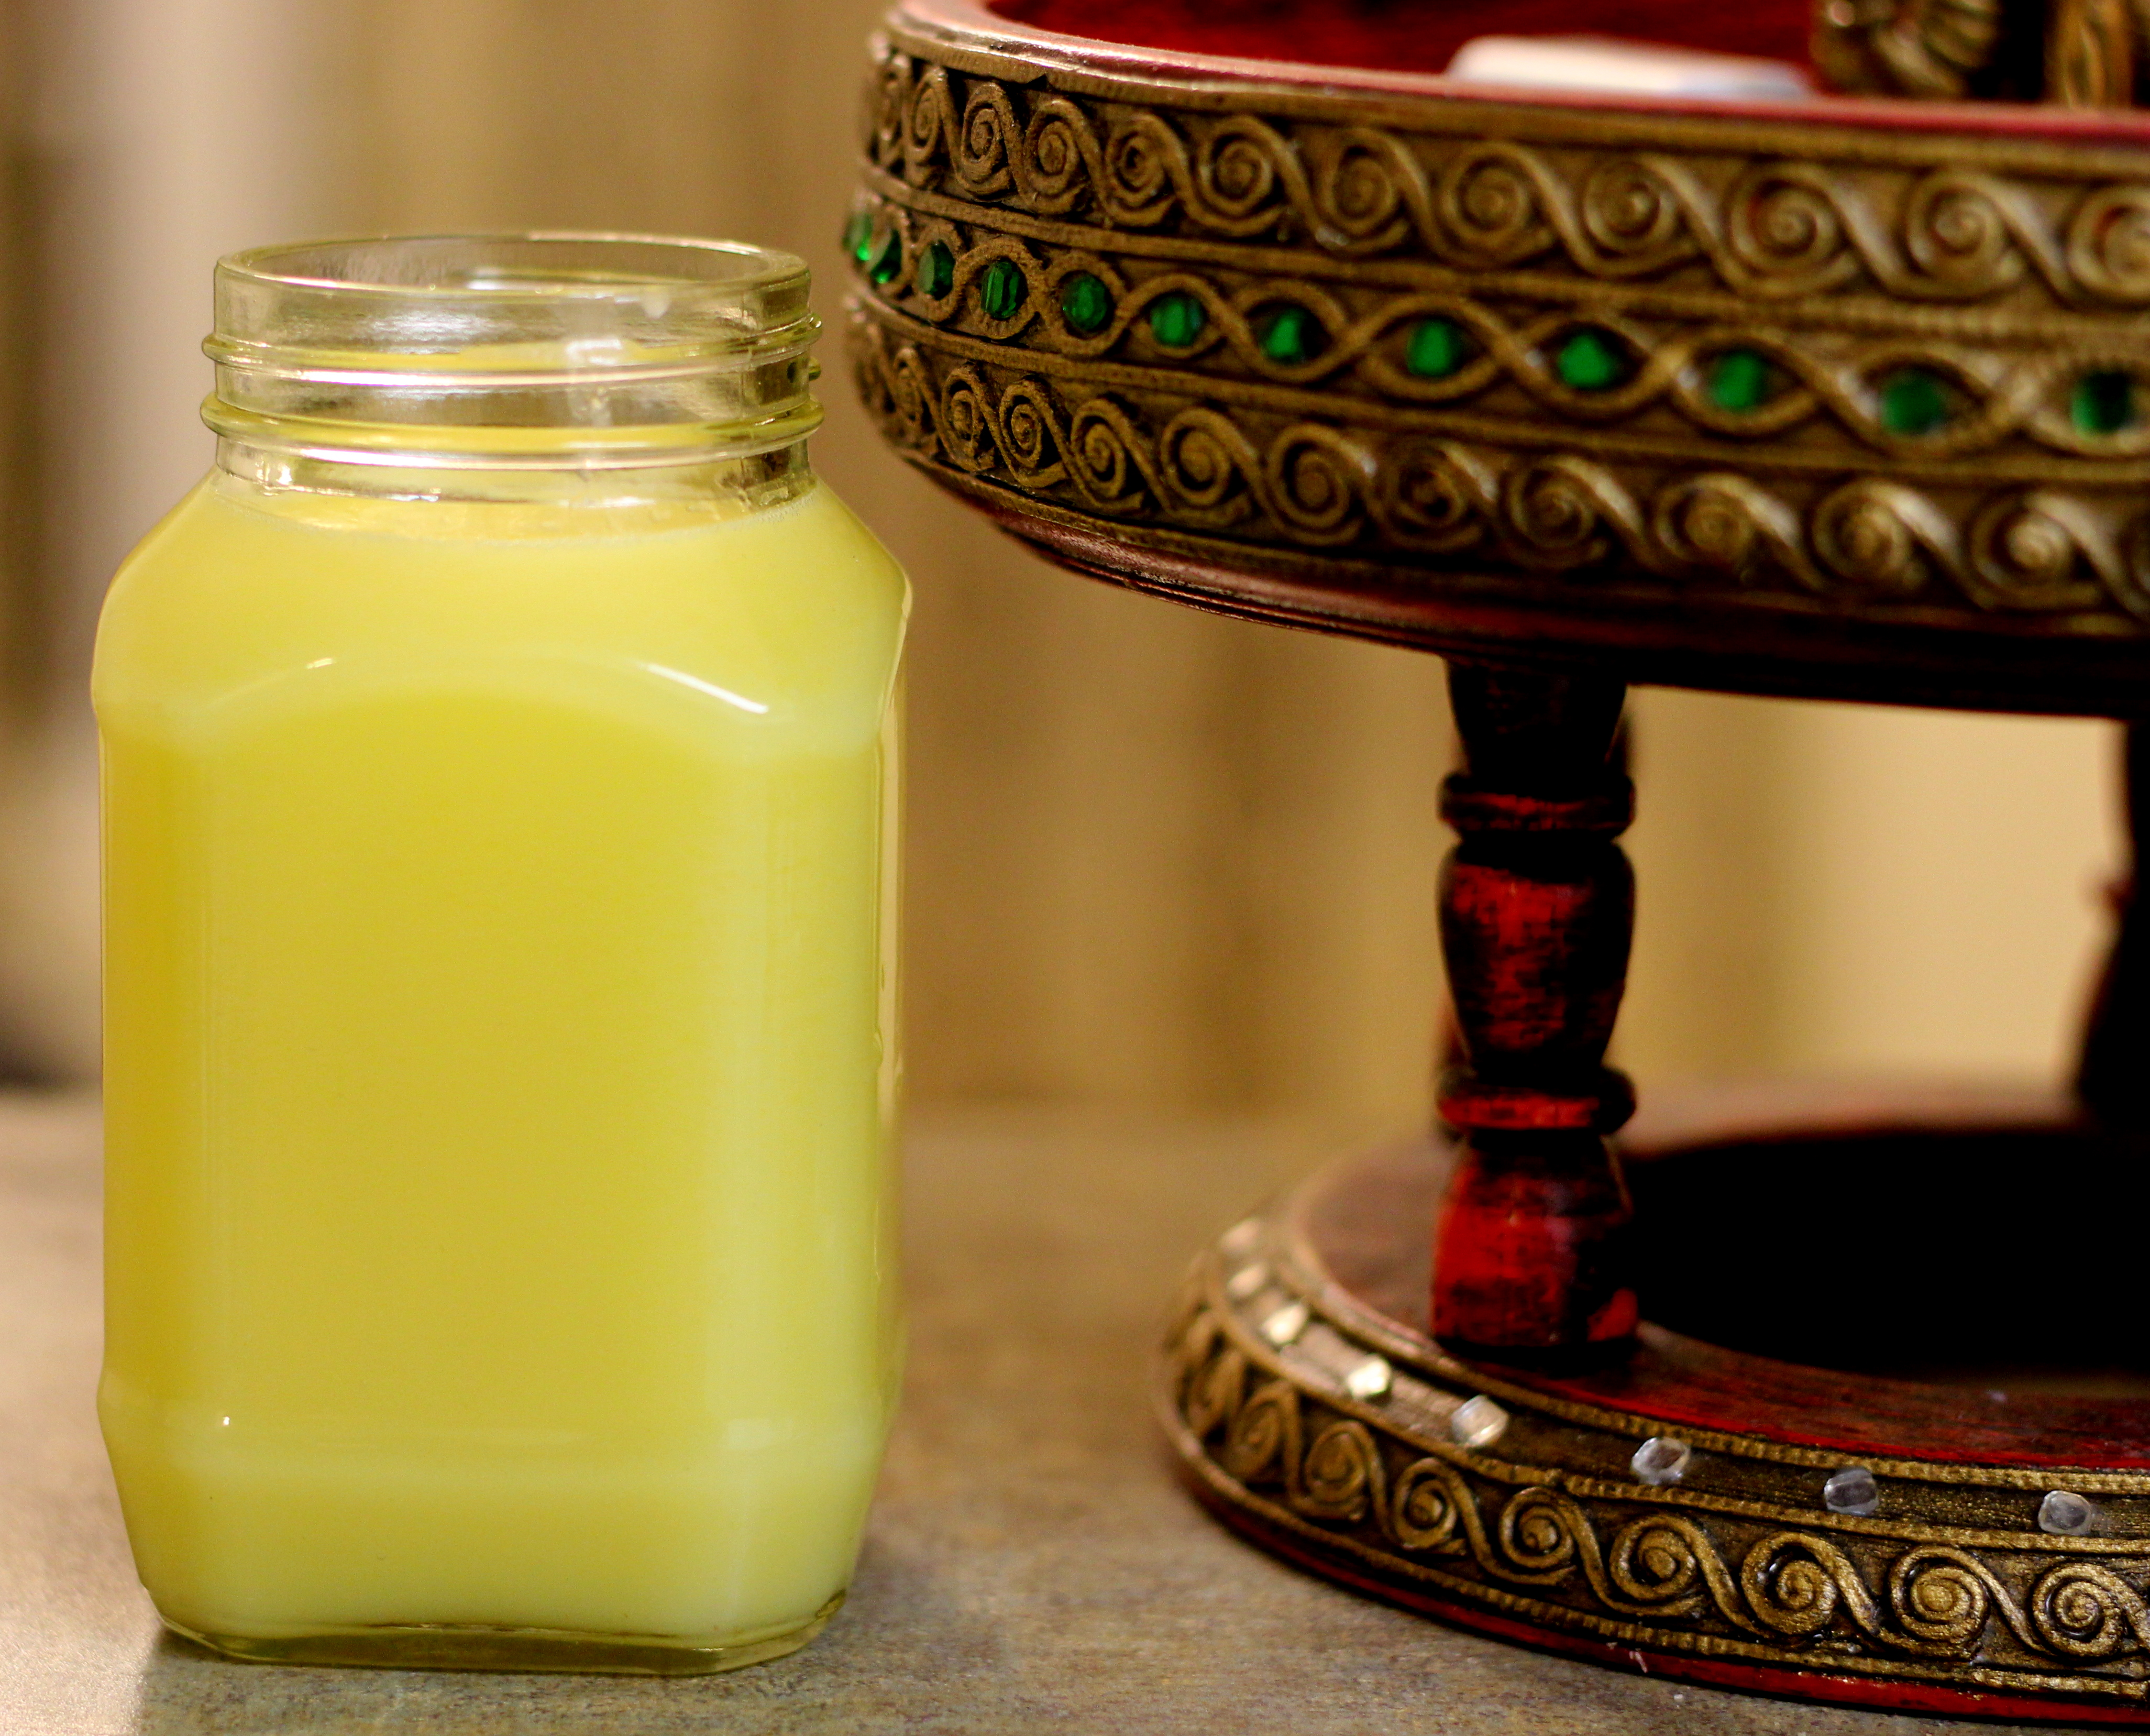
Cooking Time: 20 minutes | Makes: approx. 12 oz ghee
Ingredients:
- 16 oz (4 sticks) unsalted butter
Method:

- Add butter to a saute pan (not too shallow as it will easily burn before the ghee is made if the pan is too shallow).
- Continue to melt the butter on low heat until the milk solids in the butter turn brown and settle down at the bottom of the pan. It takes about 15 minutes for 12 oz butter.
- Stage 1: The butter begins to froth and bubble as soon as it melts.
- Stage 2: Melted butter turns from opaque yellow to transparent golden yellow liquid. Frothing bubbles become smaller in size.
- Stir now and then.
- Stage 3: Color of bubbling ghee turns to a deeper golden yellow. Frothing reduces further with tinier bubbles.
- Stage 4: Crackling slowly stops, frothing almost dies down and milk solids at the bottom of the pan turn darker to golden brown. You will be able to see the bottom of the pan easily.
- Turn off the heat immediately when you reach stage 4 – further heat will cause ghee to burn and lose its aroma/ flavor.
- Allow to cool down a little, but not long enough to solidify it. Filter ghee to storage container. It will solidify in a few hours. Typically it is a pale yellow color, but sometimes if you let it stand in the heat a little longer than needed it can be a bit darker but will still taste alright.
Notes:
You can opt to flavor the ghee with bay leaves or tender drumstick leaves. A pinch of salt can also be added to the ghee.
Liked that? Spread the word!

Comments
12 Responses to “Homemade Ghee / Indian Style Clarified Butter”Trackbacks
Check out what others are saying...-
[…] 2-3 Tbsp ghee […]
-
[…] the meal perfectly and appease the hubby (and sonny I should say!), the combination of fragrant homemade-ghee melting over the steaming hot rice and curry along with appalams – that crunchy thing that […]
-
[…] 1 cup ghee […]
-
[…] 2 Tbsp ghee […]
-
[…] tbsp ghee / butter / […]
-
[…] tbsp melted butter / ghee / oil for the dough, plus another 2-4 tbsp for brushing when […]
-
[…] tbsp melted butter / ghee, plus more for brushing when […]
-
[…] tbsp ghee or […]


turned out yummy! i love ghee …this is much much less expensive way 🙂 thanks Aishoo
thank you, Suma 🙂
VJ and me were just thinking Ghee is sooo expensive in the stores..Will give this a try 🙂
Yeah.. exactly what motivated me in the beginning.. but once you start making it, its just too simple and easy to give up on!